
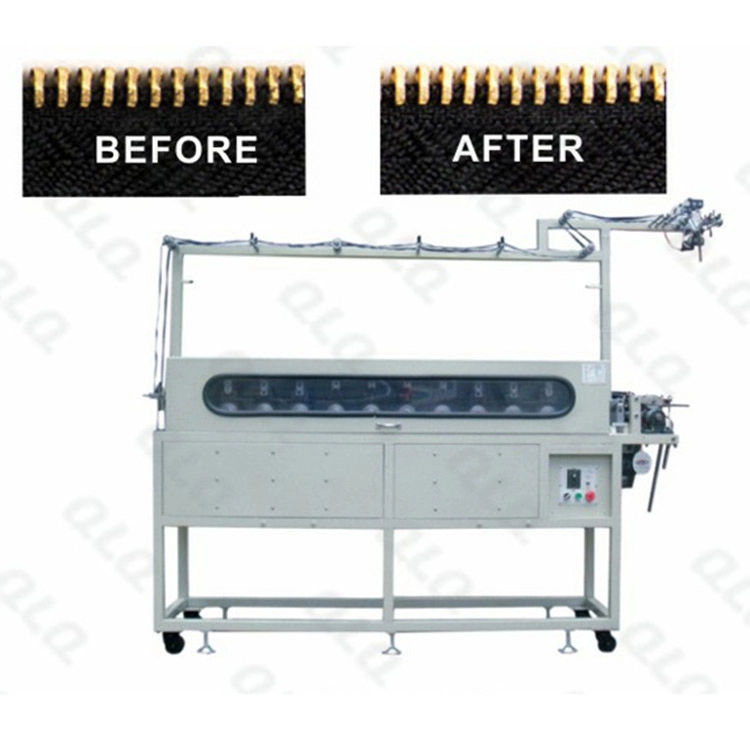
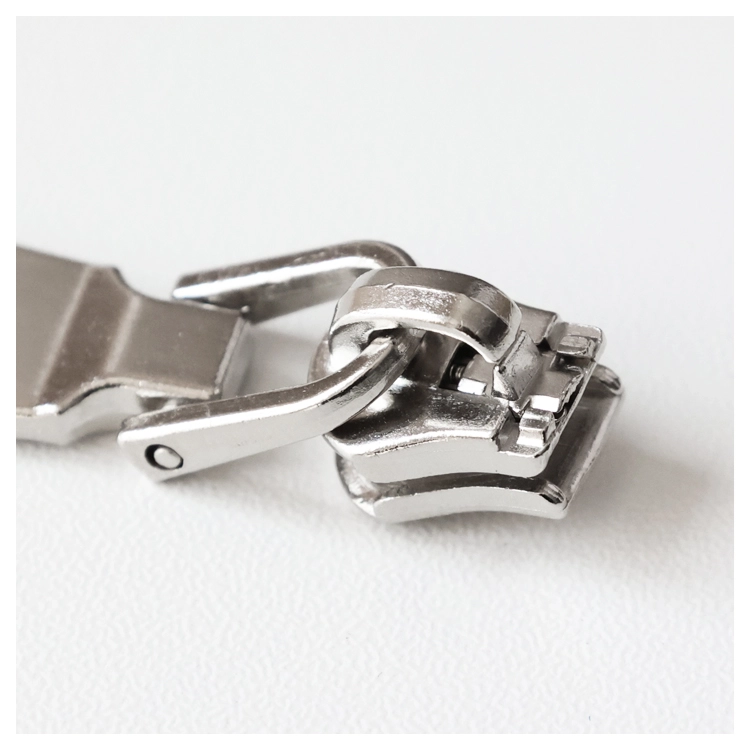
A stamped stainless slider is sharp where it was blanked and dull where it was formed. Deburring and polishing turn that blank into a slider that feels smooth in the hand and runs clean on the chain - but stainless is harder to polish than brass, and over-polishing can round the lock edges or warp thin sections.
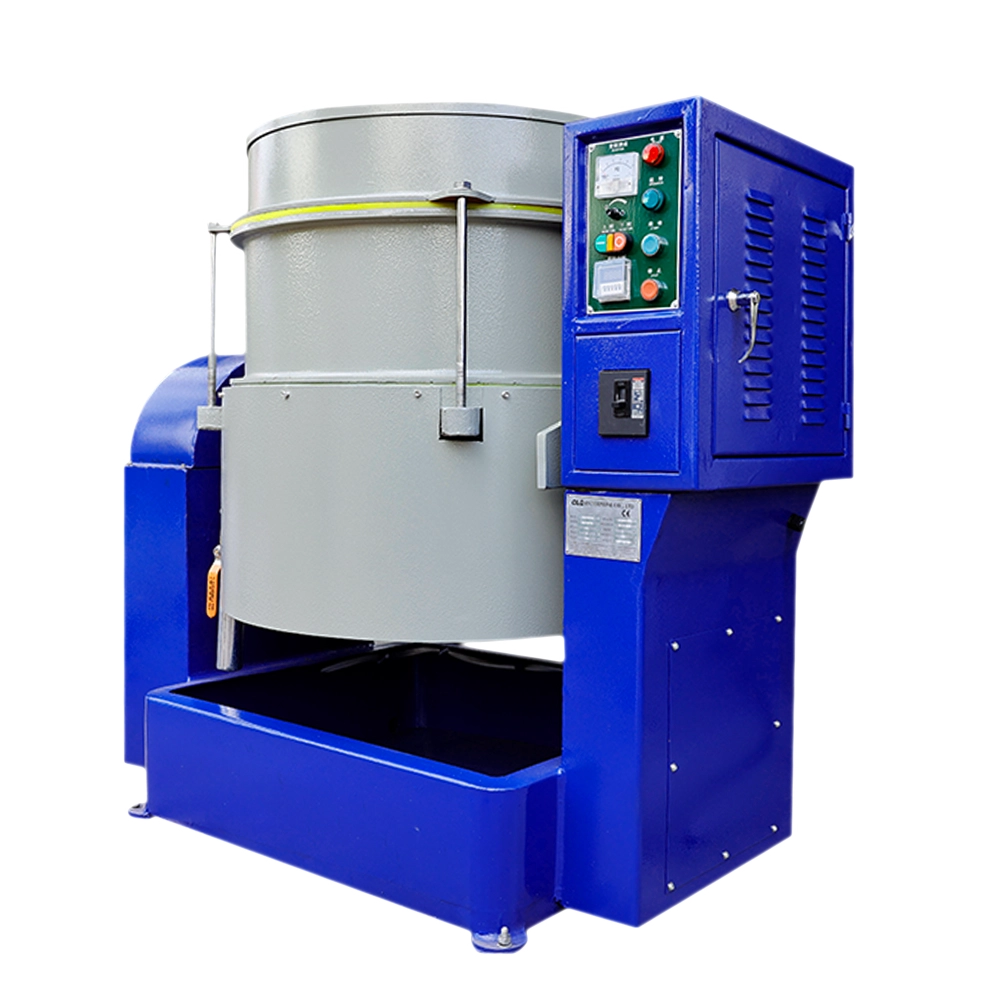
This guide covers deburring and polishing methods for stainless sliders: tumbling, vibratory finishing, magnetic polishing and mechanical wheels, the media and process choices, and the controls that protect the lock geometry while improving the surface.
Common Mistakes and How to Avoid Them
The pitfalls that show up most often in real projects, with the cause and the practical fix.
| Mistake | Why It Happens | Practical Fix |
|---|---|---|
| 1. Polishing stainless like brass | Stainless needs more time or stronger media | Adjust media and cycle for stainless hardness |
| 2. Over-polishing thin sections | Lock edges round off and feel changes | Control time; check geometry after each cycle change |
| 3. Burrs left before polishing | Polishing embeds rather than removes big burrs | Deburr properly before fine polishing |
| 4. Wrong media size for small parts | Parts wedge or media misses fine slots | Match media size to the slider geometry |
| 5. No water or compound control | Heat and contamination mark the surface | Use the correct compound and keep the bath clean |
| 6. Mixing materials in one load | Cross contamination and different wear | Keep stainless loads separate |
| 7. Skipping cleaning after polishing | Media dust and compound cause rust spots | Clean and dry parts promptly |
| 8. No surface check at setup | Scratches run through the whole batch | Run a sample and approve the surface before production |
| 9. Ignoring media wear | Old media loses cutting and scratches parts | Replace or refresh media on schedule |
| 10. Polishing before checking burr direction | Sharp edges catch the operator | Deburr edges in the direction that removes the burr |
Best Practices That Hold Up in Production
The operating disciplines that separate a reliable line from a reactive one.
- Set a separate cycle for stainless, not brass
- Control time to protect lock geometry
- Match media size to the slider geometry
- Clean and dry parts promptly after polishing
- Approve a surface sample before the run
- Replace or refresh media on schedule
- Keep stainless loads separate from other metals
- Check edge radius and lock function after process changes
Implementation Roadmap
A practical sequence that can be adapted to your own project.
Working Data & Formula Notes
Polishing working data for stainless sliders
Reference guidance from QLQ polishing notes; media and cycle are confirmed by sample runs for each part geometry.
| Component / Parameter | Working Value / Role | What Changes Mean (annotation) |
|---|---|---|
| Method choice | Tumbling / vibratory for bulk; magnetic for fine slots; wheels for gloss | Match the method to burr location and finish target |
| Media aggressiveness | Stainless needs stronger media than brass | Too weak is slow; too strong rounds edges |
| Cycle time | Set by sample, not by habit | Over-time rounds lock edges and changes feel |
| Cleaning | Compound and media dust removed promptly | Left residue causes spots and contamination |
| Edge control | Check radius after process changes | Lock function depends on edge geometry |
| Media life | Refresh when cutting drops | Worn media scratches parts |
| Surface approval | Sample before production run | Prevents whole-batch rework |
Reference Data
Specifications and references cited in this guide. Confirm final parameters with your line supplier.
Deburring and polishing method comparison
| Tumbling barrel | Bulk deburring of many parts | Fast for simple shapes |
| Vibratory finishing | Gentler bulk finishing | Better for fragile or detailed parts |
| Magnetic polishing | Fine pins reach small slots | Ideal for slider channels and holes |
| Mechanical wheels | High gloss on selected faces | Premium appearance |
| Hand finishing | Small batches and rework | Flexible but slow |
Surface quality checks
| Burr check | No sharp edge remains | Before polishing and after |
| Scratch check | No visible scratches | Appearance standard |
| Edge radius | Within the drawing limit | Protects lock geometry |
| Cleanliness | No compound or media residue | Before assembly or finish |
| Rust spot check | No water spots after drying | Dry promptly and store covered |
Common polishing problems and fixes
| Burr embedded, not removed | Big burr before polishing | Deburr before fine polishing |
| Edges rounded | Cycle too long or media too strong | Shorten cycle; change media |
| Scratches appear | Worn media or dirty bath | Refresh media; clean equipment |
| Parts wedge in media | Media too large for slots | Use smaller media |
| Rust spots after drying | Residue or moisture left | Clean and dry promptly |
Implementation Cases
Case 1 - magnetic polishing fixed rough channel slots
Situation. A stainless YG slider producer in Vietnam could not remove burrs inside the narrow channel with a barrel polisher without rounding the edges.
Approach. The factory added a magnetic polishing step with fine pins for the channel and slots, followed by a short barrel cycle for the outside surface.
Outcome. Interior burrs were removed, edge radius stayed within the drawing, and slide feel on the chain improved.
Case 2 - over-polishing caught before production
Situation. A factory in Turkey changed media to speed up polishing and found lock edges rounding on trial parts.
Approach. The new cycle was compared with the old sample: edge radius and lock function were checked before production, and the cycle was shortened with the original media restored for the final pass.
Outcome. No bad batch was produced, and the factory added edge-radius control to its polishing setup check.
Frequently Asked Questions
Why is stainless harder to polish than brass?
Stainless is stronger and more wear-resistant, so it needs stronger media or longer cycles. Using a brass polishing recipe on stainless gives slow results and uneven surfaces.
Which polishing method is best for sliders?
It depends on the burr location. Tumbling or vibratory finishing handles the outside; magnetic polishing with fine pins reaches narrow channels and holes; mechanical wheels give premium gloss.
Does polishing damage the lock function?
Over-polishing can round the lock edges and change the lock function. Control the cycle time and check edge radius and lock function after any process change.
Why do my sliders get rust spots after polishing?
Residue or moisture left on the surface causes spots. Clean and dry parts promptly after polishing and store them covered.
How often should I change the polishing media?
Refresh or replace media when its cutting action drops. Worn media scratches parts instead of removing material.
Can I polish stainless and brass together?
No. Mixing materials in one load causes cross contamination and different wear. Keep stainless loads separate.
What surface should I approve before a run?
Approve a sample showing burr removal, scratch level, edge radius and cleanliness before production. A sample run prevents whole-batch rework.
Do I need to polish before assembly?
Yes. Burrs and sharp edges damage assembly feeders, catch the operator and scratch the chain. Polish first, then clean, then assemble.
What Would You Like to Solve?
Send us your slider drawing, current burr locations and the finish you need, and we can help you choose between tumbling, vibratory, magnetic and mechanical polishing and set a cycle that removes burrs without damaging the lock geometry.
Published by QLQ - a complete high-quality zipper manufacturing equipment, moulds and materials solution supplier, and the only supplier in China covering the full process chain from raw material through electroplating and painting as one integrated system. Values cited are project references; confirm with your line supplier before specification.