
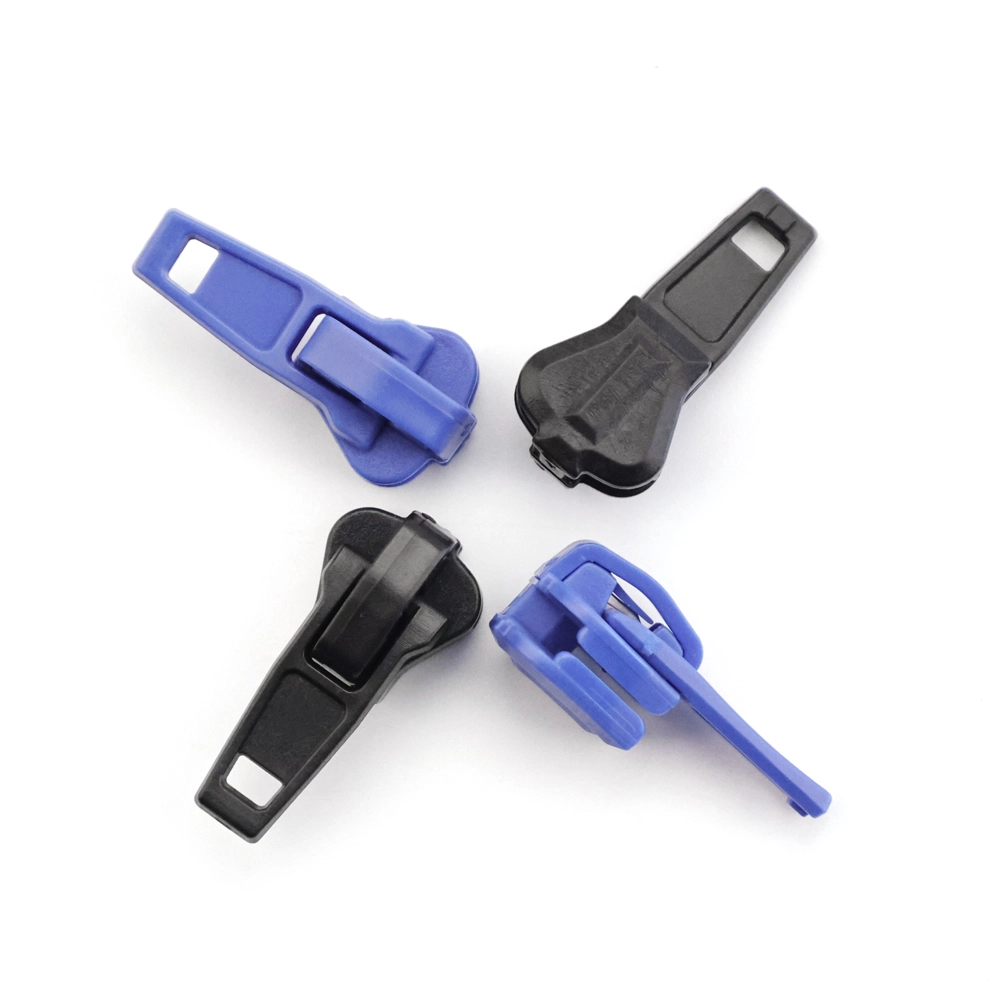
A POM plastic slider starts as a bag of resin and becomes a working zipper head only after a process chain is controlled: drying, color mixing, injection, degating, finishing and assembly. Skip one control and the defect appears later - bubbles from wet resin, sink marks from short holding time, or a puller that breaks at the customer.
This guide walks through the complete POM slider injection molding process with the working parameters and checkpoints used in real lines: drying at 80-100C to below 0.1% moisture, injection at 180-220C, mold temperature 60-90C, cooling 3-8 seconds, and one operator looking after 2-4 machines. It is written for supervisors, technicians and owners who want a process they can follow, train and audit.
Common Mistakes and How to Avoid Them
The pitfalls that show up most often in real projects, with the cause and the practical fix.
| Mistake | Why It Happens | Practical Fix |
|---|---|---|
| 1. Injection without resin drying | POM absorbs enough moisture to cause bubbles and silver streaks | Dry at 80-100C for 2-4 hours; check moisture below 0.1% on humid days |
| 2. Barrel temperature guessed by operator | Too hot degrades POM; too cold gives short shots and weld lines | Set 180-220C by material grade and record the set value at setup |
| 3. Cold mold | Poor surface finish, sink marks and unstable dimensions | Run mold temperature at 60-90C and stabilize before first-piece check |
| 4. Short holding time | Sink marks and loose internal structure around thick sections | Increase holding pressure and time in steps until the sink disappears |
| 5. Runners removed by hand inconsistently | Damaged slider bodies and mixed dimensions | Use automatic or guided degating; check cut quality per batch |
| 6. Color added without measuring | Batch-to-batch color drift and blocked flow | Weigh masterbatch ratio, mix thoroughly, and record per batch |
| 7. Cooling time cut to chase output | Warped sliders and poor puller fit | Respect the 3-8 second cooling window; output comes from cavities, not from shorter cooling |
| 8. No first-piece check after setup | Defects run for the whole shift | Check fill, flash, sink, dimension and color before the machine runs unattended |
| 9. Regrind mixed without ratio control | Strength loss and inconsistent color | Define the virgin/regrind ratio and label regrind containers |
| 10. No material lot traceability | A bad resin lot cannot be traced to customers | Record resin lot, batch time and machine for every box of sliders |
Best Practices That Hold Up in Production
The operating disciplines that separate a reliable line from a reactive one.
- Dry POM before every run and verify moisture content on humid days
- Freeze injection temperature, mold temperature, pressure and cooling time at setup
- Run a first-piece check after every setup, material change and color change
- Weigh masterbatch and regrind instead of estimating by eye
- Degate with guided tools or automation; do not snap runners by hand
- Keep one operator able to monitor 2-4 machines with clear alarms
- Store resin sealed, away from sunlight, and use FIFO
- Log resin lot, machine, parameters and output for each batch
Implementation Roadmap
A practical sequence that can be adapted to your own project.
Working Data & Formula Notes
POM slider injection working parameters
Values are references from QLQ slider production notes and standard POM molding practice; confirm with your resin supplier and mould maker.
| Component / Parameter | Working Value / Role | What Changes Mean (annotation) |
|---|---|---|
| Resin moisture target | <= 0.1% | Above this level you get bubbles, silver streaks and lower strength - the classic first defect of a new line |
| Drying temperature and time | 80-100C for 2-4 hours | Too short leaves moisture; too long or too hot can yellow light colors |
| Barrel temperature | 180-220C typical | Below range gives short shots and visible weld lines; above range degrades the resin |
| Injection pressure | 60-120 MPa | Low pressure leaves incomplete fill in thin puller sections; high pressure creates flash |
| Mold temperature | 60-90C | Cold molds cause sink marks and dull surfaces; stable temperature controls dimensions |
| Cooling time | 3-8 seconds per shot | Shorter cooling warps the slider; longer cooling reduces output |
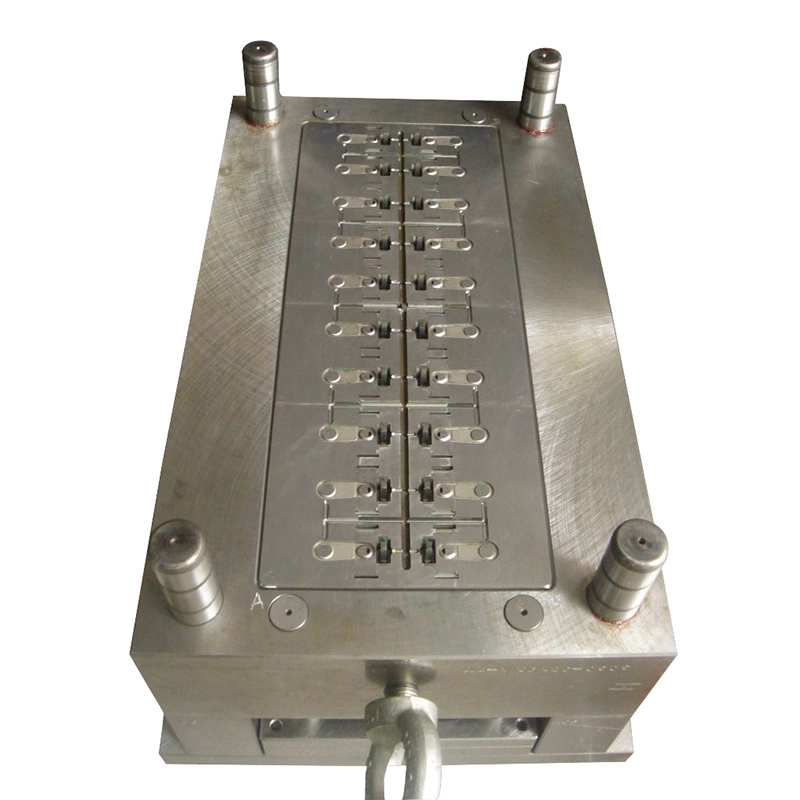
| POM shrinkage allowance | 1.8-2.5% | The mould cavity must be designed larger by this amount; wrong allowance gives undersized parts |
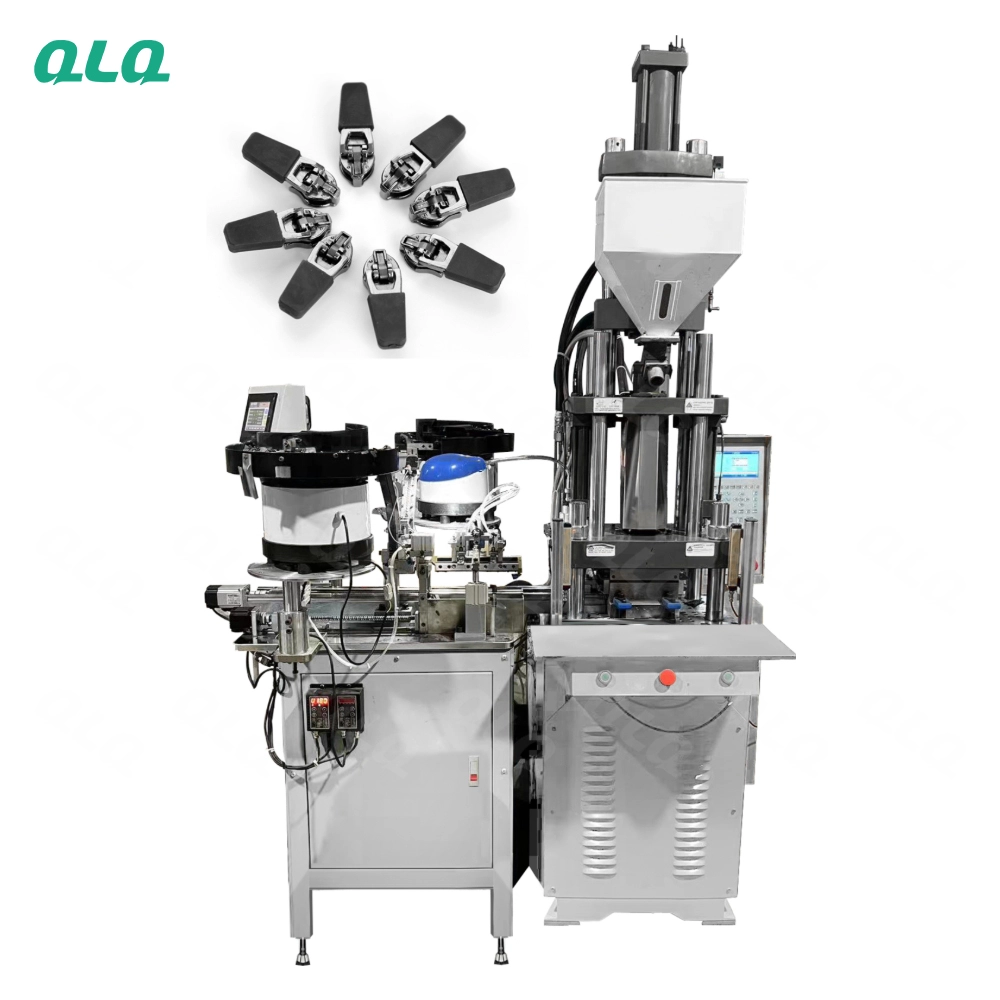
| Operator loading | 1 person for 2-4 machines | With alarms and stable process one operator is enough; more machines need automatic sorting |
Reference Data
Specifications and references cited in this guide. Confirm final parameters with your line supplier.
POM slider material selection and drying table
| POM (polyoxymethylene) | Most common, wear-resistant and self-lubricating | General sliders and pullers |
| PA (nylon) | Tough, fatigue-resistant | Higher-load slider bodies |
| PC (polycarbonate) | Transparent and strong | Decorative transparent sliders |
| ABS | Easy to plate, low cost | Low-end and decorative sliders |
| PP | Light and chemical-resistant | Low-cost or disposable sliders |
Process quality gates
| After drying | Moisture <= 0.1%; color mixed evenly | Prevents bubbles and color drift |
| After setup | First piece: fill, flash, sink, dimension, color | Prevents whole-shift defects |
| During running | Hourly sample per machine | Catches drift early |
| After degating | No torn material, clean gate mark | Protects assembly and feel |
| Before packing | Dimension, slide force and appearance | Final quality gate |
Common process defects and corrections
| Bubbles / silver streaks | Moist resin | Dry at 80-100C to below 0.1% moisture |
| Short shot | Low pressure or temperature | Raise pressure or barrel temperature in steps |
| Sink marks | Short holding time or pressure | Increase holding pressure and time |
| Weld line visible | Cold melt front or poor venting | Raise mold temperature; improve venting |
| Flash | High pressure or worn mould | Reduce pressure; repair mould parting line |
| Warpage | Cooling too short or uneven | Respect cooling time; balance cooling channels |
Implementation Cases
Case 1 - first POM slider line reaches stable output in South Asia
Situation. A new slider factory in South Asia bought a 48-cavity POM slider mould and an injection machine but saw bubbles and short shots for the first two weeks.
Approach. The team added a hopper dryer running at 90C for 3 hours before every shift, froze the barrel at 200C and the mould at 80C, and started a first-piece check after every setup. One operator was assigned to monitor three machines with alarms.
Outcome. Rejects dropped to a controllable level within one month and the line reached the reference output of 15,000-25,000 sliders per day per machine.
Case 2 - color drift fixed by weighing masterbatch
Situation. A factory in Turkey producing white POM sliders had visible yellowing between batches and blamed the resin supplier.
Approach. The process review showed masterbatch was being added by scoop. The team moved to weighed doses recorded per batch, added moisture checks, and standardized the drying time for light colors.
Outcome. Batch-to-batch color difference became traceable and the yellowing complaints stopped without changing the resin supplier.
Frequently Asked Questions
Why does my POM slider have bubbles and silver streaks?
Moisture in the resin is the usual cause. Dry POM at 80-100C for 2-4 hours until moisture is below 0.1%. If bubbles continue after drying, check the barrel temperature and venting.
What temperature should I use for POM slider injection?
The working reference is 180-220C for the barrel, 60-90C for the mould. Set the exact values with your resin supplier and verify with first pieces.
How many sliders can one injection machine produce per day?
With a 48-cavity mould the reference output is 15,000-25,000 sliders per machine per day, depending on cycle time and running hours. Output rises with cavities, not by cutting cooling time.
Do I really need to dry POM? It is not like nylon.
Yes. POM absorbs less moisture than nylon but still needs to be below 0.1%. In humid climates, undried POM gives bubbles, silver streaks and lower strength.
What is the mould temperature range for plastic sliders?
The common range is 60-90C. A warm mould improves filling, surface finish and dimensional stability; a cold mould causes sink marks and dull surfaces.
Can one operator run several injection machines?
Yes, one operator can monitor 2-4 machines when the process is stable and alarms are set. Automatic sorting is needed if the cycle is very short.
Why do my sliders warp after ejection?
Warpage usually comes from cooling that is too short or uneven. Respect the 3-8 second cooling window and check that cooling channels are balanced.
Should I regrind runners and sprues?
Yes, but control the ratio and label the regrind. Uncontrolled regrind causes strength loss and color drift. Keep a defined virgin/regrind ratio per product.
What Would You Like to Solve?
Tell us your slider design, target output and resin grade, and we can help you set the drying, injection and mould parameters, choose the cavity count, and plan the degating, finishing and assembly steps for a stable POM slider line.
Published by QLQ - a complete high-quality zipper manufacturing equipment, moulds and materials solution supplier, and the only supplier in China covering the full process chain from raw material through electroplating and painting as one integrated system. Values cited are project references; confirm with your line supplier before specification.