
A zipper factory runs on repeatability: the same product made this morning must be made the same way tonight, by a different operator, on a different shift. That only happens when every step of the process is written down - what to check, what value to set, what to do before starting, and what warns you to stop. This is the standard operating procedure (SOP) level of detail that can be printed and posted at the line.
This guide gives the complete end-to-end process flow for nylon, metal and plastic zippers, with control points, working parameters and precautions at each step. It is written for supervisors and owners who want one process document that every shift follows, and it follows the flows and parameter references used in QLQ line installations.
Common Mistakes and How to Avoid Them
The pitfalls that show up most often in real projects, with the cause and the practical fix.
| Mistake | Why It Happens | Practical Fix |
|---|---|---|
| 1. Starting without setup verification | The machine holds the previous size or product settings | Verify size change, mold, parameters and material before the first piece |
| 2. Wrong ironing temperature | Nylon shrinks or deforms; plastic teeth flatten; metal discolors | Use 120-140C nylon, 150-180C metal, 100-130C plastic, with digital display and alarm |
| 3. Skipping pellet drying | Moist POM produces bubbles and weak teeth | Dry POM pellets before injection and check moisture on humid days |
| 4. Unstable tape tension | Crooked teeth and rough slider feel | Set tension at setup and check it at shift start and after material change |
| 5. Mixing material batches | Color and dimension drift between lots | Keep batch separation on the line and in the warehouse (FIFO) |
| 6. No in-process QC | Defects run for hours before final inspection | Check first piece after setup and sample per hour per station |
| 7. Wrong stop energy | Top stop pull-off or chain damage | Set ultrasonic energy per material and verify with a pull test after setup |
| 8. No cutter calibration | Length out of tolerance and wasted chain | Calibrate cut length at setup and every 2-4 weeks |
| 9. Skipping color check | Batch color difference reaches packing | Compare against the approved sample in a light box at every change |
| 10. No shift handover at process level | The next shift starts with different settings | Hand over parameters and changes in writing at every shift change |
Best Practices That Hold Up in Production
The operating disciplines that separate a reliable line from a reactive one.
- Write one SOP per product type and post it at the line; keep it to one page per station
- Verify first-piece quality after every setup, material change and size change
- Record parameters at setup and check them at shift start
- Keep batch separation from warehouse to packing (FIFO)
- Run in-process sampling per hour and log the results
- Use digital temperature, speed and length displays instead of marks on knobs
- Add a pull test and color check at each QC gate
- Update the SOP whenever a defect root cause is found and fixed
Implementation Roadmap
A practical sequence that can be adapted to your own project.
Working Data & Formula Notes
Process parameters with drift annotations
Working references for typical lines; confirm values with your machine supplier and product standard. The annotation explains what a drifting parameter looks like on the floor.
| Component / Parameter | Working Value / Role | What Changes Mean (annotation) |
|---|---|---|
| Ironing temperature - nylon | 120-140C | Above 140C can shrink or deform the tape; below 120C leaves the chain wavy |
| Ironing temperature - metal | 150-180C depending on teeth material | Too high discolors plating or teeth; too low leaves poor tooth alignment |
| Ironing temperature - plastic | 100-130C | Above 130C risks tooth deformation; control speed and pressure too |
| Compressed air | 0.5-0.7 MPa at the machine | Low air causes weak stop clamping and intermittent feeding |
| POM pellet drying | Dry before injection; avoid moist material | Moisture shows up as bubbles and strength loss, not obvious until testing |
| Y-teeth stamping speed | Mechanical 60-90 strokes/min; servo 100-150 strokes/min | Pushing speed beyond tooling limits causes skip teeth and mold wear |
| Plating current density | Set per loaded surface area | Too high burns edges; too low leaves thin recesses and color variation |
| Paint viscosity | Adjust per temperature and humidity | Wrong viscosity causes runs, orange peel or poor coverage |
Reference Data
Specifications and references cited in this guide. Confirm final parameters with your line supplier.
Nylon zipper SOP: step, control point, precaution
| Weaving | Tape width, density, tension | Use 120-140C ironing only after dyeing; do not over-stretch the tape |
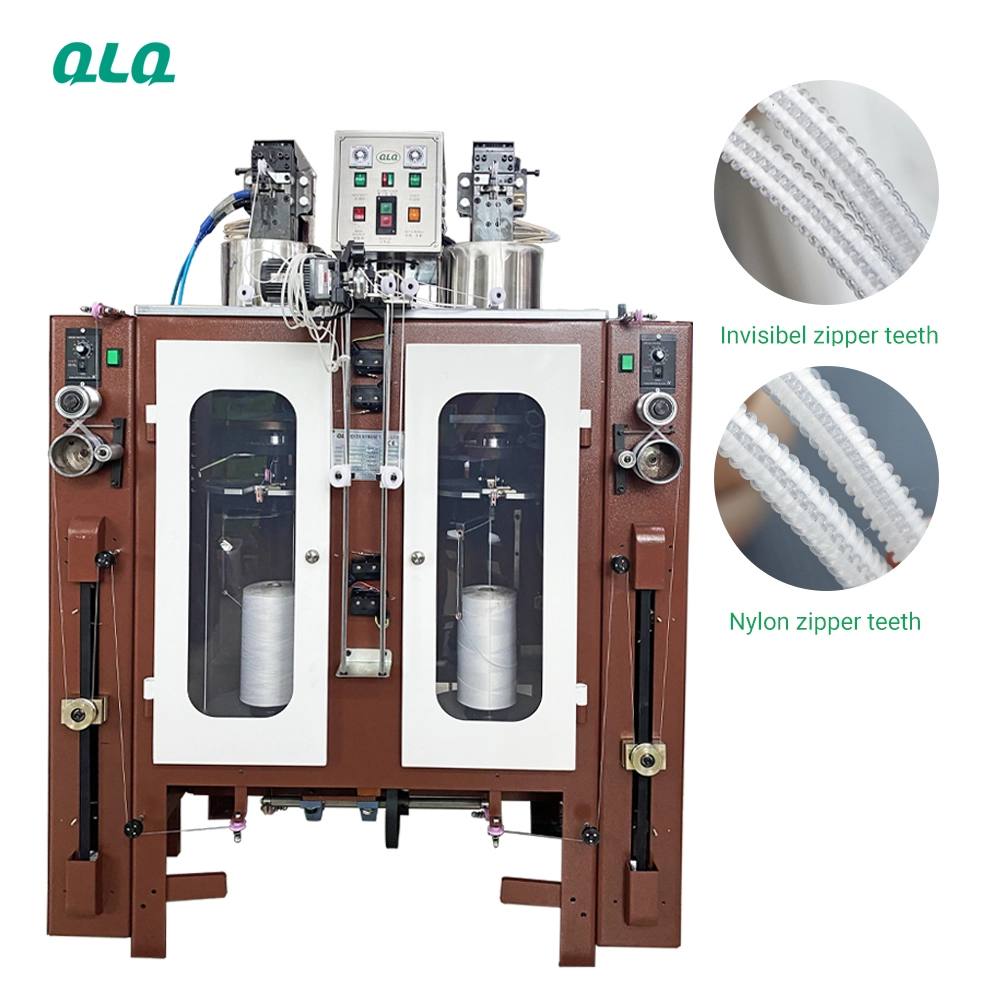
| Monofilament | Diameter 0.48-0.70 mm typical; cooling | Diameter drift causes skip teeth and rough feel |
| Coil forming | Tooth density and shape | Check against the master sample every shift |
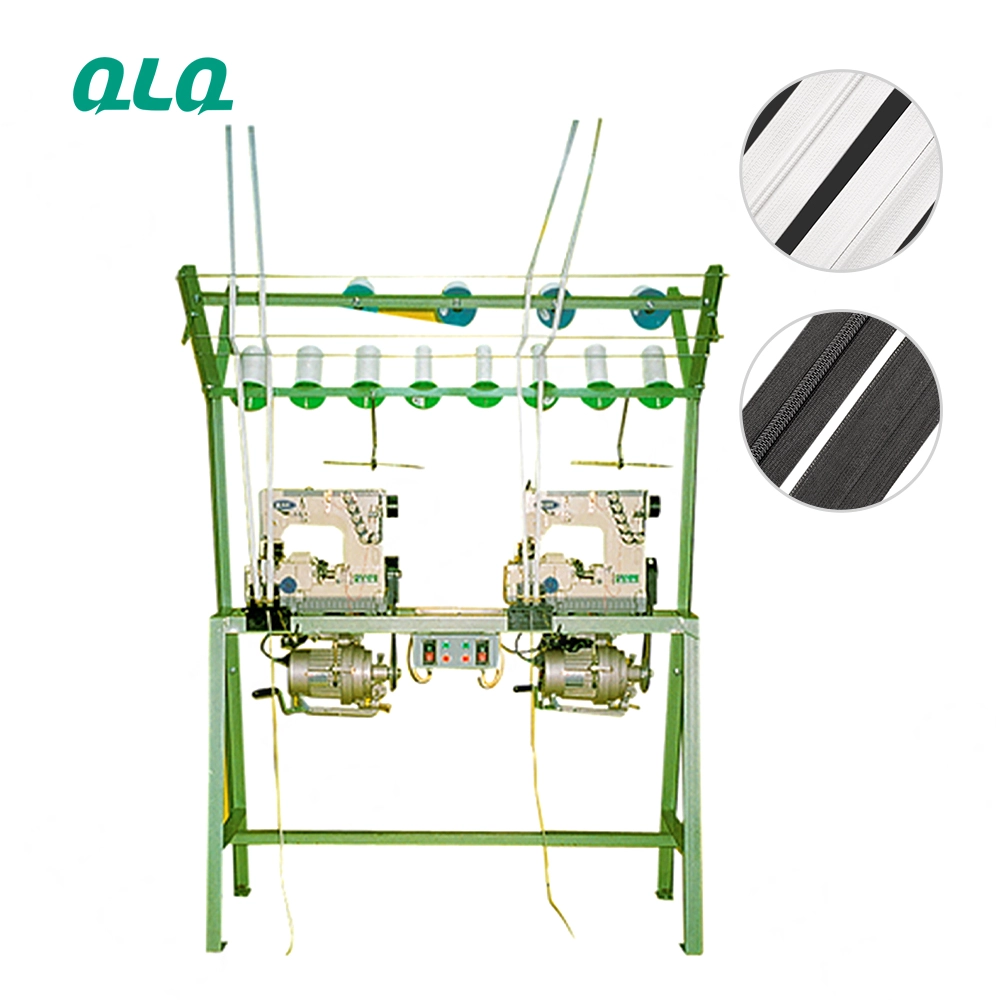
| Stitching | Needle condition, tension, stitches per inch | Worn needles cause skip teeth; change on a schedule |
| Ironing/setting | 120-140C, speed, pressure | Prevents tape shrinkage and stabilizes the chain |
| Dyeing | Recipe, temperature, time | Standardize recipe and water quality for color consistency |
| Assembly | Cut, slider mount, stops | Verify stop energy with a pull test after setup |
Metal zipper SOP: step, control point, precaution
| Wire flattening | Width and thickness tolerance | Inconsistent wire shows up as skip teeth and weak teeth |
| Y-teeth stamping | Speed, mold condition, feeding | Servo 100-150 strokes/min; stop for mold wear checks |
| Tooth fixing | Bite depth | Insufficient bite gives loose teeth; too deep damages tape |
| Polishing | Media, time, dust collection | Collect dust; check surface before plating |
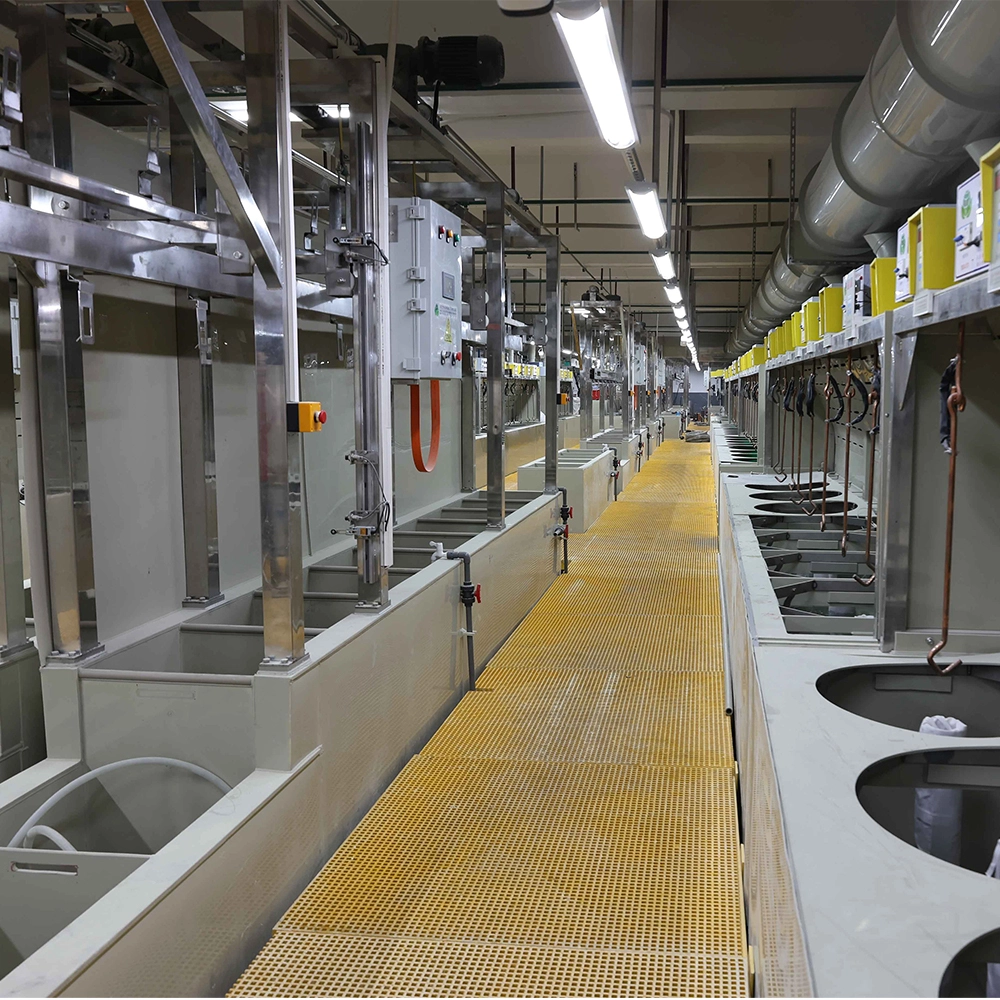
| Plating | Pretreatment, bath analysis, current | Water-break check before plating; analyze bath weekly |
| Assembly | Cut, gap, mount, stops, box/pin | Length calibration and stop pull test at setup |
Plastic zipper SOP: step, control point, precaution
| Weaving | Tape width and tension | Tape quality decides final strength; do not compensate with speed |
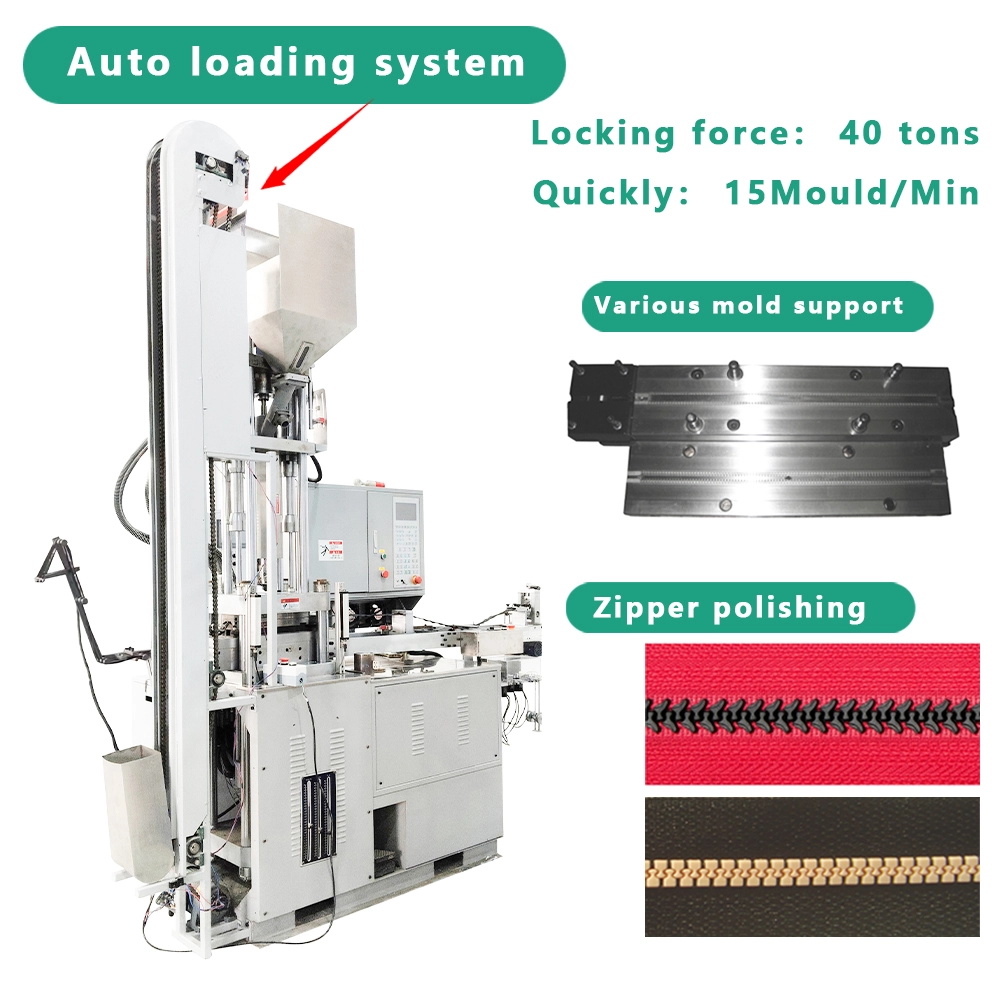
| Injection molding | Drying, temperature zones, pressure | Dry POM first; stable temperature zones control color and strength |
| Cooling | Cooling time and temperature | Short cooling causes warping and size drift |
| Trimming/gapping | Gap position and size | Gap errors cause slider mounting problems |
| Assembly | Cut, mount, stops | Verify stop strength and slider feel after setup |
Implementation Cases
Case 1 - standardizing two shifts on one nylon SOP
Situation. A nylon zipper plant in Poland ran two shifts with visibly different quality: the day shift had fewer defects, and the night shift changed settings "by feel".
Approach. The process was written into a one-page SOP per station with setup values, first-piece check, hourly sampling and a pull test at the QC gate. Both shifts were trained on the same document, and parameter changes became a written handover item.
Outcome. Within one month, the night shift defect rate matched the day shift, and the plant stopped reworking whole batches that had been run on different settings.
Case 2 - adding plating to a metal zipper SOP without losing color control
Situation. A metal zipper factory in India added an in-house plating bay and struggled with batch-to-batch color difference and occasional blistering.
Approach. The SOP added pretreatment water-break checks, weekly bath analysis, ampere-hour brightener dosing and a salt spray sample per batch. Plating was treated as a QC gate like any other station, with records kept per batch.
Outcome. Color difference between batches became traceable to bath and load data, blistering dropped, and the customer approved the new in-house process after an audit.
Frequently Asked Questions
What should a zipper factory SOP include?
Per station: setup verification, working parameters (temperature, speed, tension, pressure), first-piece check, hourly sampling, common defects and the stop rule. Keep it to one page per station so it can be posted and followed.
What is the correct ironing temperature for each zipper type?
Reference ranges are 120-140C for nylon, 150-180C for metal depending on teeth material, and 100-130C for plastic. Temperature, speed and pressure work together, so set all three at setup.
How do I control color consistency between batches?
Standardize the recipe, water quality, temperature and time for dyeing; for plastic, keep the material supplier and drying consistent; for plating, control the bath and current. Compare every batch against the approved sample in a light box.
Why does my POM plastic zipper have bubbles?
Moisture in the pellets is the usual cause. Dry the pellets before injection, check the drying hopper on humid days, and then look at mold venting if bubbles continue.
When should I do a first-piece check?
After every setup, size change, material change and mold change - before the batch runs. A first-piece check costs minutes; a bad batch costs hours.
What is a QC gate?
A fixed point in the flow where the product is tested before moving on: after forming, after surface treatment and after assembly. Gates prevent defects from traveling through the whole line.
How often should cut length be calibrated?
Verify the cut length at every setup and calibrate the sensor and feeding system every 2-4 weeks, or when length defects appear. Servo-fed machines hold length better but still need checks.
Can one SOP cover nylon, metal and plastic?
The management structure is the same, but the process tables differ by product type. Write one SOP per product type with its own parameters, and keep the common rules (setup check, first piece, sampling) in one master document.
How do I make operators actually follow the SOP?
Train on the document, test at sign-off, and supervise the first weeks. When a defect is traced to a missed step, review that step with the team and update the SOP - people follow a document that is kept current.
What Would You Like to Solve?
If you share your product types and line configuration, we can help you structure the one-page SOP per station - setup values, control points, sampling frequency and stop rules - and support your team during commissioning so the document is followed from day one.
Published by QLQ - a complete high-quality zipper manufacturing equipment, moulds and materials solution supplier, and the only supplier in China covering the full process chain from raw material through electroplating and painting as one integrated system. Values cited are project references; confirm with your line supplier before specification.