
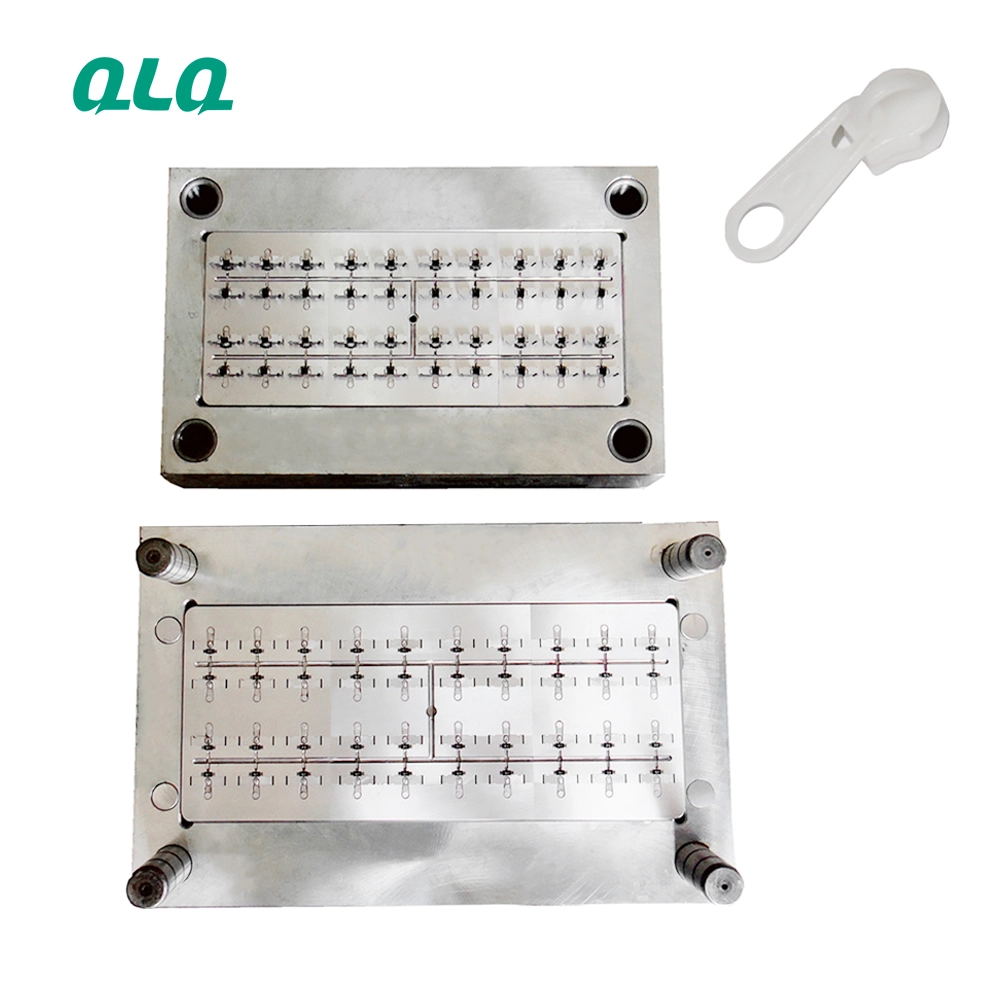
Most POM slider defects have only a handful of causes, but they look different and are fixed in different ways: sink marks ask for more holding pressure, short shots ask for more fill, bubbles ask for drier resin, flash asks for less clamp pressure or a repaired mould, and weld lines ask for a hotter melt or better venting. Change the wrong one and the defect moves, not disappears.
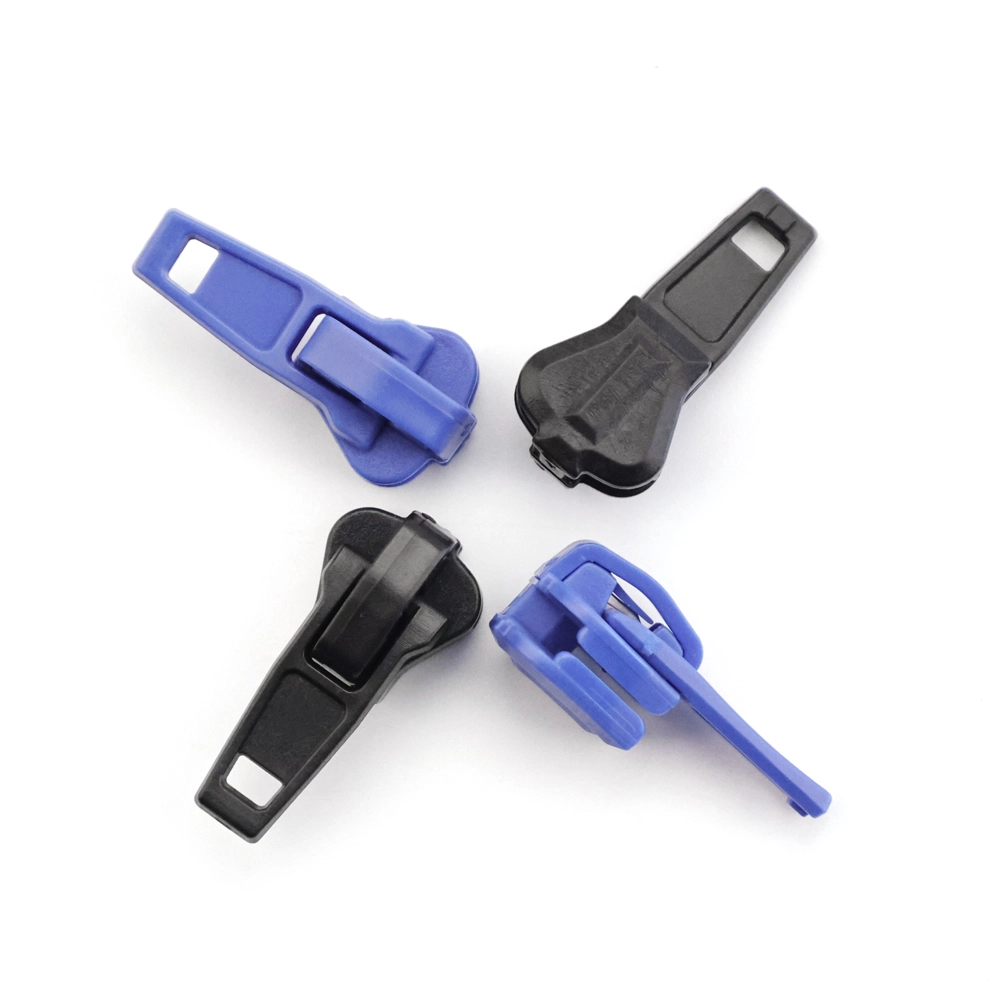
This guide compiles the defects that appear most often in POM slider injection - sink marks, weld lines, short shots, flash, bubbles, silver streaks and warpage - with the working cause and the practical correction order. It is written for technicians and supervisors who want a structured way to fix defects without turning every knob.
Common Mistakes and How to Avoid Them
The pitfalls that show up most often in real projects, with the cause and the practical fix.
| Mistake | Why It Happens | Practical Fix |
|---|---|---|
| 1. Blame the machine before the resin | Many defects come from moisture or material batch | Check resin drying and lot first; parameters second |
| 2. Changing three parameters at once | You never learn which change fixed it | Change one variable, run a few shots, inspect |
| 3. Lowering cooling time to fix output | Warpage and dimension drift replace the original defect | Keep cooling in the 3-8 second window |
| 4. Overpacking to hide sink marks | Flash appears at the parting line | Balance holding pressure against clamp force |
| 5. Ignoring gate freeze-off | Sink marks stay when the gate freezes too early | Check gate size and holding profile |
| 6. Cold mould blamed on resin | Weld lines come from cold melt or poor venting | Raise mould temperature to 60-90C and check vents |
| 7. No first-piece log | The same defect returns after every setup | Record setup parameters and first-piece result |
| 8. Reusing wet regrind | Bubbles and silver streaks return | Dry regrind with the same 80-100C schedule |
| 9. Skipping vent cleaning | Burn marks and short shots build up | Clean vents on a schedule |
| 10. Inspecting only the first cavity | Defects hide in cavities that fill late | Check parts from all cavity groups |
Best Practices That Hold Up in Production
The operating disciplines that separate a reliable line from a reactive one.
- Fix in order: material, process, mould - not the reverse
- Change one parameter at a time and record the result
- Keep resin below 0.1% moisture; dry regrind too
- Hold mould temperature at 60-90C for stable fill
- Check parts from every cavity group during setup
- Log setup parameters and first-piece checks
- Clean vents on a schedule, not after defects appear
- Keep a photo log of each defect type for training
Implementation Roadmap
A practical sequence that can be adapted to your own project.
Working Data & Formula Notes
POM slider defect-to-cause working table
Practical mapping from QLQ slider molding notes; always verify with your resin supplier data sheet for the exact grade.
| Component / Parameter | Working Value / Role | What Changes Mean (annotation) |
|---|---|---|
| Sink marks | Holding pressure or time too low; gate freezes early | Raise holding pressure/time in steps; check gate size |
| Weld lines | Melt or mould too cold; poor venting | Raise barrel/mould temperature; improve venting at the weld line |
| Short shots | Pressure or temperature low; thin sections cold | Raise injection pressure and temperature; check filling pattern |
| Flash | Clamp pressure low; mould worn | Lower injection pressure if possible; repair parting line |
| Bubbles / silver streaks | Moisture above 0.1% | Dry resin 80-100C for 2-4 hours |
| Warpage | Cooling too short or uneven | Respect cooling time; balance cooling channels |
| Burn marks | Trapped air, no venting | Add or clean vents at last-fill areas |
| Dimension out of tolerance | Mould shrinkage wrong or unstable cooling | Verify cavity compensation 1.8-2.5%; stabilize mould temperature |
Reference Data
Specifications and references cited in this guide. Confirm final parameters with your line supplier.
Defect appearance, cause and first correction
| Sink marks on thick sections | Low holding pressure or early gate freeze | Increase holding pressure and time first |
| Visible weld line at puller hole | Cold melt front meeting | Raise melt temperature; raise mould to 60-90C |
| Incomplete thin wall | Short shot | Raise injection pressure or barrel temperature |
| Flash around parting line | Overpacking or worn mould | Check clamp force; then mould wear |
| Bubbles under surface | Moist resin | Dry below 0.1%; check regrind |
| Silver streaks near gate | Moisture or melt degradation | Dry resin; check barrel temperature |
| Warped thin body | Cooling too short | Extend cooling time in steps |
| Dull surface | Mould temperature low or mould dirty | Raise mould temperature; clean mould surface |
Troubleshooting order at the machine
| Step 1 | Check resin moisture and lot | Eliminates the most common cause |
| Step 2 | Check barrel and mould temperature | Compare with the recorded setup values |
| Step 3 | Check pressure and holding profile | Adjust one at a time |
| Step 4 | Check vents and gate | Clean or modify after process checks |
| Step 5 | Run test shots and inspect all cavities | Verify before resuming production |
Defect prevention checklist
| Before every run | Resin dried, color mixed, parameters frozen at setup | First-piece check after setup |
| During run | Hourly sample; check every cavity group | Log rejects by cause |
| After color change | Purge properly; first pieces verified | Clean hopper and barrel |
| Weekly | Clean vents; inspect mould surface | Prevents hidden burn marks |
| Monthly | Review defect log by cause | Update SOP and training |
Implementation Cases
Case 1 - sink marks traced to early gate freeze
Situation. A POM slider line in Vietnam had sink marks on the thick puller boss even after operators raised holding pressure to the machine limit.
Approach. The review showed the gate was freezing before the boss packed. The mould maker enlarged the gate slightly and the holding profile was split into high pressure then stepped pressure.
Outcome. Sink marks disappeared without further pressure increase, and cycle time stayed unchanged.
Case 2 - bubbles fixed by drying regrind
Situation. A factory in Pakistan saw bubbles return every afternoon and blamed the resin supplier until moisture tests showed the morning regrind was being reused without drying.
Approach. Regrind was dried with the same 80-100C schedule as virgin material and containers were labeled with time and date.
Outcome. The afternoon bubble pattern disappeared and the defect log for the month dropped by two-thirds.
Frequently Asked Questions
Why do I get sink marks on my POM slider?
Sink marks come from insufficient packing: holding pressure or time is too low, or the gate freezes before the thick section packs. Increase holding pressure and time in steps; if that fails, check the gate size.
What causes short shots on thin slider sections?
Short shots mean the melt is not filling the cavity: pressure or temperature is too low, or the section is too thin for the flow. Raise injection pressure or barrel temperature and inspect the fill pattern.
How do I fix visible weld lines?
Weld lines form where melt fronts meet. Raise the barrel and mould temperature so the fronts fuse better, and improve venting at the weld line. Mould temperature should be 60-90C.
Why do bubbles and silver streaks appear?
Moisture is the main cause. Dry POM at 80-100C for 2-4 hours until moisture is below 0.1%. Remember to dry regrind too.
What causes flash on a multi-cavity slider mould?
Flash comes from too much injection or holding pressure for the clamp force, or from a worn parting line. Reduce pressure in steps; if flash remains, the mould needs repair.
How do I stop warpage?
Warpage usually means cooling is too short or uneven. Keep cooling in the 3-8 second range and check that the cooling channels are balanced across the mould.
Why do defects only appear in some cavities?
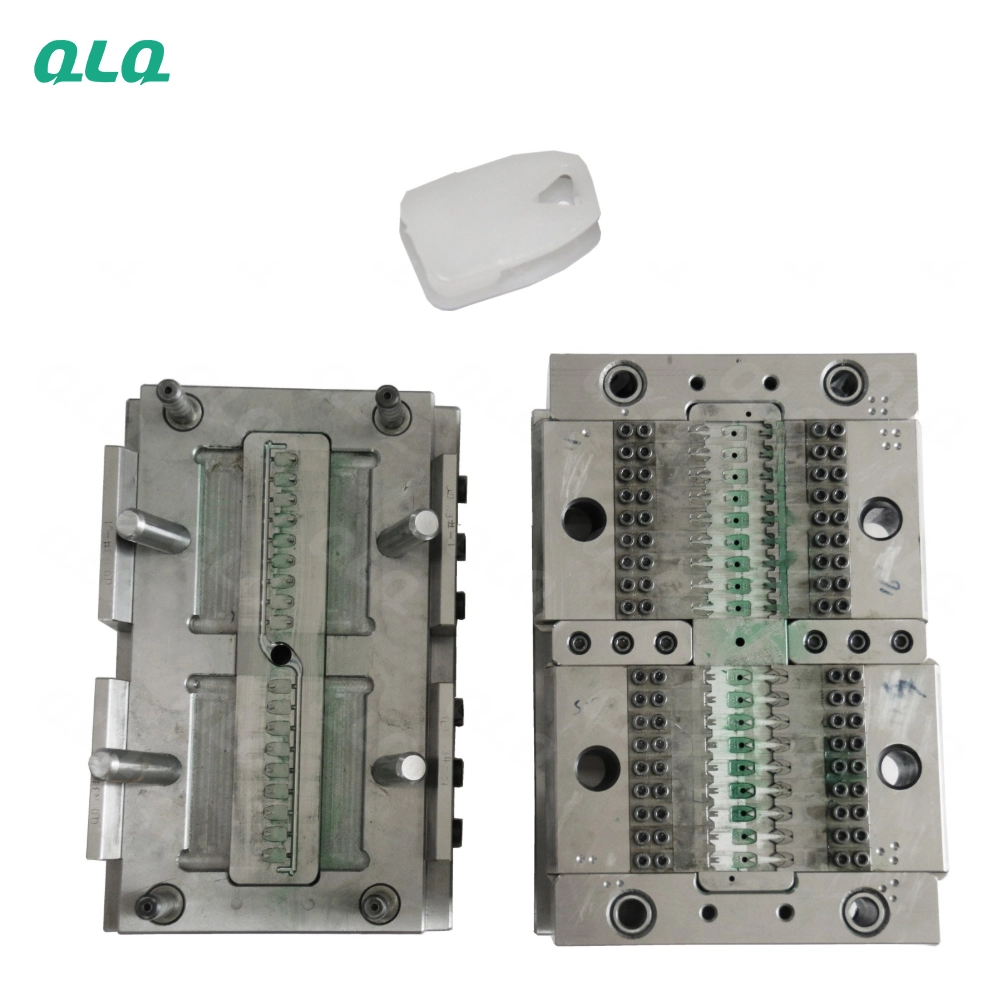
Unbalanced runners or gates cause some cavities to fill late. Inspect parts from every cavity group, and check fill balance when one group consistently shows defects.
Should I change multiple parameters at once?
No. Change one variable, run a few shots and inspect. Changing several parameters at once makes it impossible to know which one fixed the defect.
What Would You Like to Solve?
Send us a photo of the defect, the resin grade, your current parameters and which cavity group shows it, and we can help you work through the correction order - material, process, then mould - without changing everything at once.
Published by QLQ - a complete high-quality zipper manufacturing equipment, moulds and materials solution supplier, and the only supplier in China covering the full process chain from raw material through electroplating and painting as one integrated system. Values cited are project references; confirm with your line supplier before specification.