
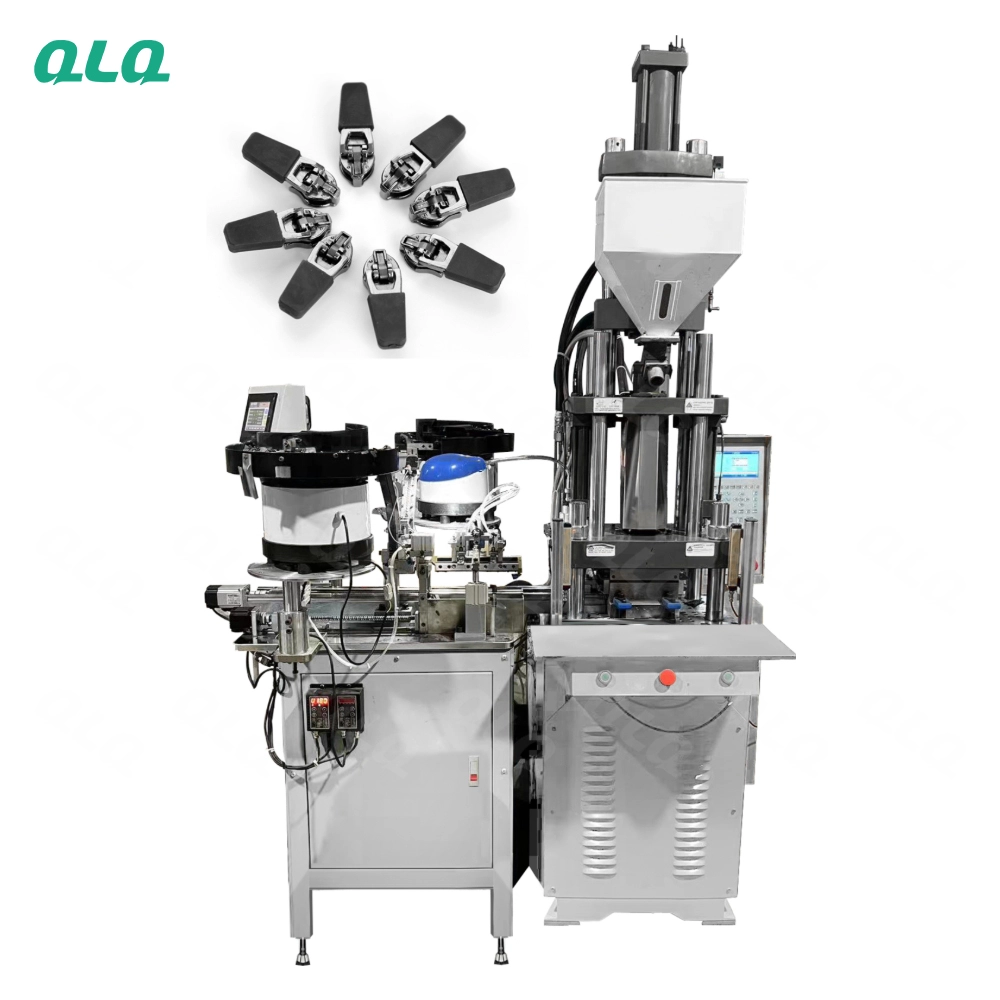
A POM slider workshop looks simple on paper: dry resin, inject, degate, assemble. But the equipment list hides real choices - how many injection machines, which cavity counts, whether to finish and assemble in-house, how much drying capacity, and how the line is laid out so material moves one way from resin to packed sliders.
This guide compiles the equipment and layout plan for a POM slider workshop: injection machines with 16-72 cavity moulds, hopper dryers, grinders, degating and assembly machines, optional painting or metallizing equipment, plus area, power, staffing and investment references based on QLQ slider production notes.
Common Mistakes and How to Avoid Them
The pitfalls that show up most often in real projects, with the cause and the practical fix.
| Mistake | Why It Happens | Practical Fix |
|---|---|---|
| 1. Buying machines before moulds | A machine without a matched mould produces nothing | Plan moulds and machines together as one system |
| 2. No drying capacity for all machines | Wet resin stops quality on humid days | Size dryers for every running machine plus spare |
| 3. One cavity count for every product | Small orders waste high-cavity tools | Match moulds to order mix, not to one machine |
| 4. Assembly planned later | Molded parts pile up as assembly bottlenecks | Plan assembly capacity with the injection capacity |
| 5. No grinder and regrind area | Runners pile up or contaminate material | Include grinder, containers and defined regrind ratio |
| 6. Ignoring power for dryers | Dryers run continuously and add load | Count dryer load in the power plan |
| 7. Finishing line placed beside molding | Dust and overspray contaminate parts | Separate finishing with its own air flow |
| 8. No QC corner | Fit and lock defects reach customers | Reserve space for gauges, chain samples and test fixtures |
| 9. No color-change plan | Downtime grows between colors | Group colors and plan purge time |
| 10. Buying all capacity at once | First-time owners over-invest before orders are stable | Start with one complete cell; expand after stabilization |
Best Practices That Hold Up in Production
The operating disciplines that separate a reliable line from a reactive one.
- Plan moulds and machines as one matched system
- Size dryers for every machine plus spare capacity
- Match mould cavity counts to the real order mix
- Balance assembly capacity with molding output
- Include grinder and controlled regrind area
- Count continuous dryer load in the power plan
- Separate finishing from molding with its own airflow
- Reserve a QC corner with gauges and chain samples
Implementation Roadmap
A practical sequence that can be adapted to your own project.
Working Data & Formula Notes
POM slider workshop planning data
Reference values from QLQ slider production notes; confirm power and area with the equipment list for your capacity.
| Component / Parameter | Working Value / Role | What Changes Mean (annotation) |
|---|---|---|
| Output per machine | 15,000-25,000 pcs/day at 48 cavities | Use this to size the number of injection machines for your target |
| Operator loading | 1 person per 2-4 machines | More machines per operator needs alarms and sorting |
| Dryer load | Continuous; sized per machine | Dryers add steady power; do not forget them in the plan |
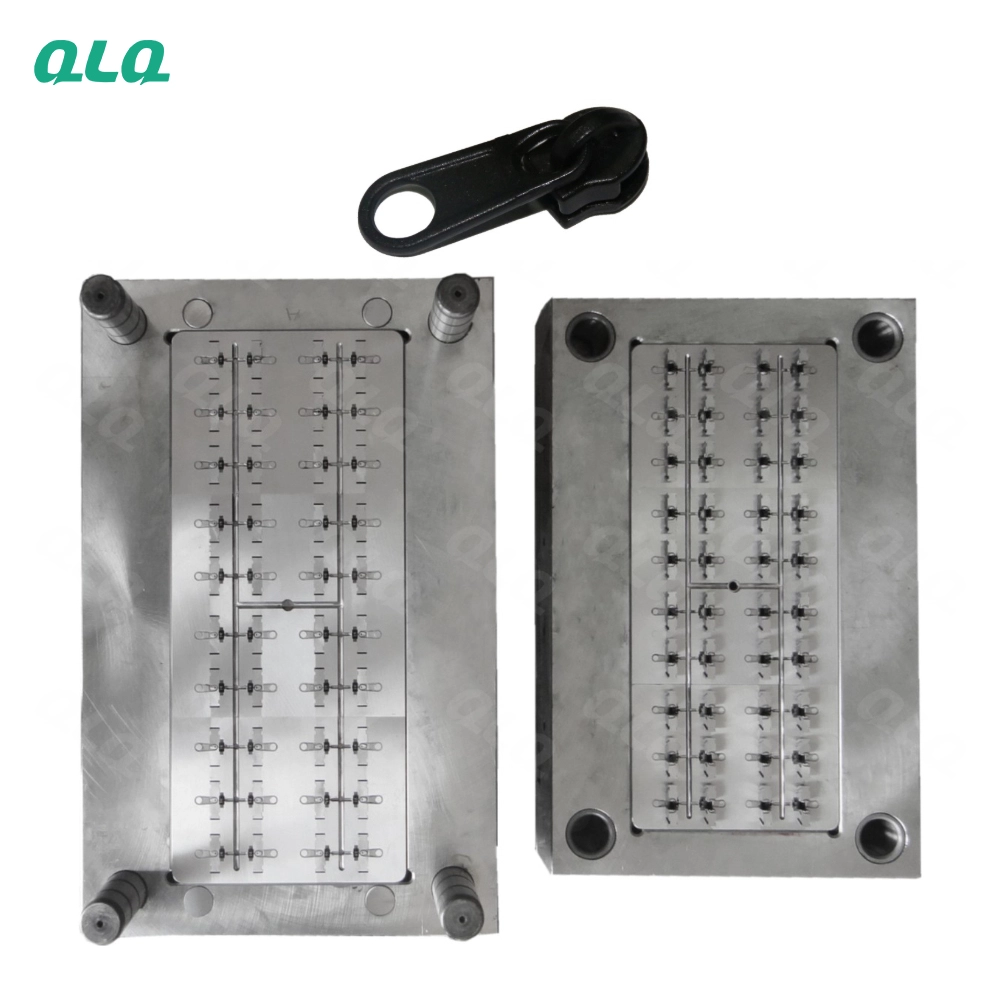
| Mould set | 16-72 cavities by order mix | Wrong cavity counts underuse capital or choke output |
| Assembly balance | Match stations to molding output | Assembly is the usual hidden bottleneck |
| QC equipment | Gauges, chain samples, lock test | Without fit tests, defects reach customers |
| Expansion rule | Start one cell, stabilize 3-6 months | Scaling too early multiplies problems |
Reference Data
Specifications and references cited in this guide. Confirm final parameters with your line supplier.
Equipment list for a POM slider workshop
| Injection machine | One per 15,000-25,000 pcs/day at 48 cavities | Core production |
| Slider moulds | 16-72 cavities by size and volume | Matched to machines |
| Hopper dryer | Per machine or centralized | Keeps resin below 0.1% |
| Grinder | Runner and reject regrind | Controlled regrind reuse |
| Degating station | Guided tools or automatic | Clean gate marks |
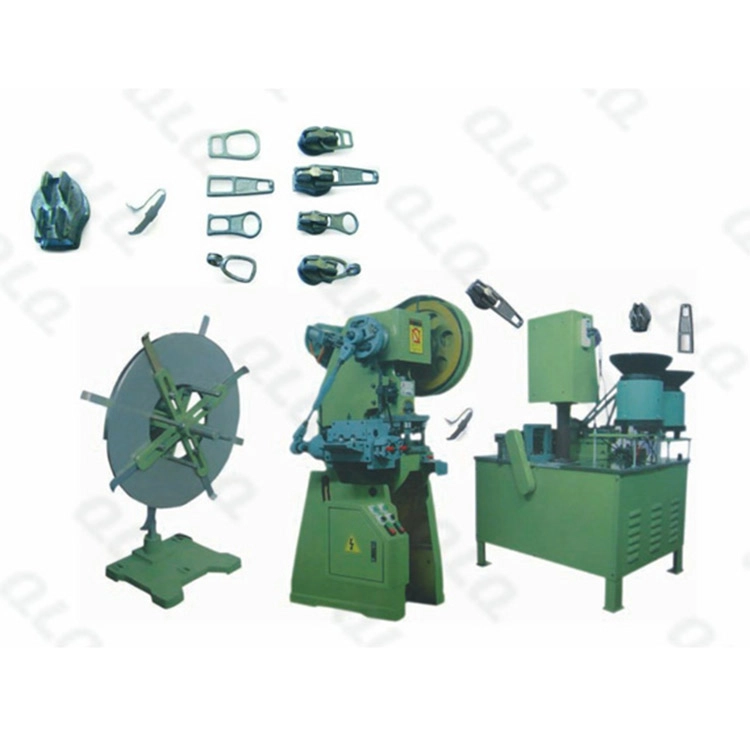
| Assembly machines | Body + puller; auto-lock adds spring | Balanced to molding |
| QC station | Gauges, chain samples, lock tester | Fit and function control |
| Optional finishing | Paint booth/oven or vacuum metallizer | By product mix |
Area, power and staffing references
| Small cell (2-3 machines) | Compact room with dryer, degating and QC | 1-2 injection operators + assembly staff |
| Medium workshop (5-8 machines) | Separate molding, degating, assembly, QC zones | Team per shift with a supervisor |
| Power planning | Machine + dryer + chiller + compressor load | Count dryers and cooling in the total |
| Material area | Sealed resin storage, FIFO, color area | Separate from finishing |
| Finishing area | Separate airflow, dust control, oven | Only if finishing in-house |
Phased investment path
| Phase 1 | One machine + matched 24-48 cavity mould + dryer + degating | Validate quality and orders |
| Phase 2 | Add machines and moulds by order mix | Scale output |
| Phase 3 | Add assembly automation and finishing | Increase value per slider |
| Phase 4 | Second shift and larger buffers | Maximize utilization |
Implementation Cases
Case 1 - a POM slider cell started with one matched line
Situation. A bag accessory producer in Bangladesh wanted to make its own POM sliders and started by buying a single injection machine without a mould plan.
Approach. The plan was reworked into one matched cell: one machine, one 48-cavity mould for the core size, a hopper dryer, a grinder, a degating station and one assembly machine, with QC gauges and a chain sample.
Outcome. The cell reached stable output and quality within three months, and the team used the lessons to add a second mould and machine for a new size.
Case 2 - layout fix ended contamination between molding and painting
Situation. A factory in Vietnam added a paint line beside its injection machines and began seeing dust and overspray on molded parts.
Approach. The layout was changed to a one-way flow: molding and degating in one zone, finishing in a separate zone with its own airflow, assembly and QC last.
Outcome. Contamination dropped, first-pass rate improved, and the finishing line no longer stopped molding for cleaning.
Frequently Asked Questions
What equipment do I need to make POM sliders?
Core equipment is an injection machine, matched slider moulds, a hopper dryer, a grinder and a degating station, plus assembly machines if you assemble in-house. Finishing equipment is optional by product mix.
How many injection machines do I need?
Plan from output: a 48-cavity machine makes about 15,000-25,000 sliders per day. Divide your target by that and add machines for extra sizes or colors.
How much space does a POM slider workshop need?
A small cell with 2-3 machines fits in a compact room with dryer, degating and QC; a medium workshop with 5-8 machines needs separate molding, degating, assembly and QC zones.
Do I need my own finishing line?
Only if your orders need painted, metallized or plated looks. For standard molded-color sliders, finishing is an extra cost and failure mode; start without it and add it when orders justify.
Should assembly be in-house?
For core sizes, yes - it controls quality and delivery. Balance assembly capacity with molding output so molding does not pile up.
How much drying capacity do I need?
Size dryers for every running machine plus spare, because dryers run continuously and wet resin is the most common defect cause.
What mould cavity count should a new workshop start with?
Start with a 24-48 cavity mould for your core size and validate orders first. Add high-cavity tools only when volume is steady.
Can QLQ help plan and supply the whole workshop?
Yes. QLQ supplies injection and slider assembly equipment, matched moulds, dryers, grinders and finishing equipment, and helps with layout, installation, training and spare parts as one package.
What Would You Like to Solve?
Tell us your target output, slider sizes and whether you need finishing and assembly in-house, and we can help you build the equipment list, mould plan, layout and phased investment for a POM slider workshop that starts stable.
Published by QLQ - a complete high-quality zipper manufacturing equipment, moulds and materials solution supplier, and the only supplier in China covering the full process chain from raw material through electroplating and painting as one integrated system. Values cited are project references; confirm with your line supplier before specification.