
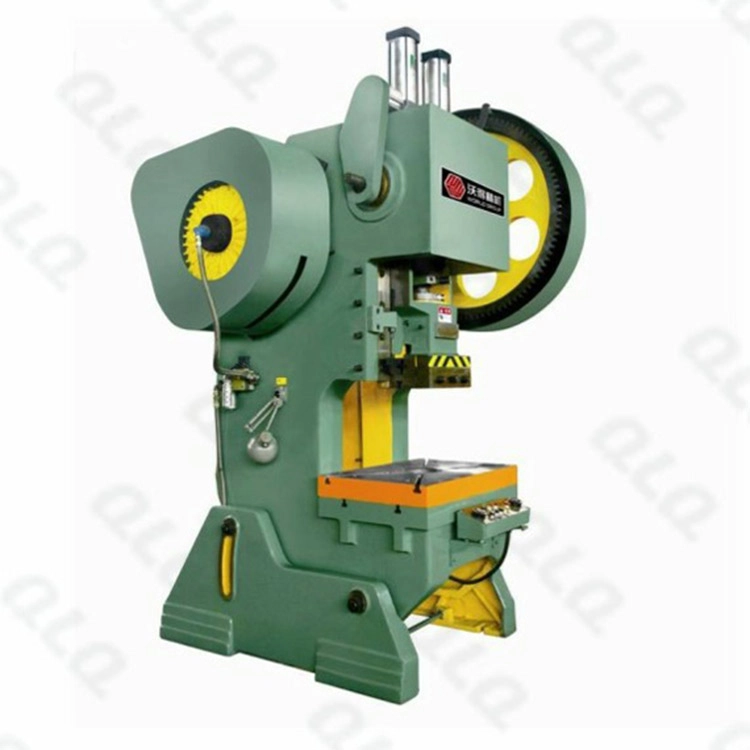
A stainless steel slider line starts with strip and ends with a tested, packed slider, and every step in between has its own equipment: a press with progressive dies for stamping, deburring and polishing stations, cleaning and passivation, assembly machines for the YG lock, and a QC corner with salt spray and force testers. The line fails when these steps are sized separately.
This guide lays out a stainless slider production line: equipment list, process order, layout zones, power and staffing, and the phased investment path - so an owner can start with one complete cell and expand without reworking the building.
Common Mistakes and How to Avoid Them
The pitfalls that show up most often in real projects, with the cause and the practical fix.
| Mistake | Why It Happens | Practical Fix |
|---|---|---|
| 1. Buying the press without the die plan | A press without a matched die produces nothing | Plan dies and presses as one system |
| 2. No deburring capacity | Burrs stop assembly and ruin feel | Include deburring and polishing capacity |
| 3. Cleaning and passivation added later | Late rust appears on shipped parts | Plan cleaning and passivation from the start |
| 4. Assembly planned last | Stamping outruns assembly | Balance assembly to stamping output |
| 5. No salt spray chamber | Corrosion claims unproven | Include salt spray in the QC plan |
| 6. Mixing stainless with other metals | Iron contamination causes rust | Keep stainless tooling and media separate |
| 7. Wrong power plan | Presses and polishing need real power | Count motor load in the utility plan |
| 8. Layout with backtracking | Parts cross contamination and confusion | Design one-way flow from strip to packing |
| 9. Buying all capacity at once | First-time owners over-invest | Start with one cell; expand by demand |
| 10. No QC corner | Function defects reach customers | Reserve space for force, salt spray and gauges |
Best Practices That Hold Up in Production
The operating disciplines that separate a reliable line from a reactive one.
- Plan presses and dies as one matched system
- Include deburring, cleaning and passivation from the start
- Balance assembly capacity to stamping output
- Put salt spray and force testing in the QC plan
- Keep stainless tooling and media separate from other metals
- Count motor load in the power plan
- Design one-way material flow
- Start one cell, stabilize, then expand
Implementation Roadmap
A practical sequence that can be adapted to your own project.
Working Data & Formula Notes
Stainless slider line planning data
Reference guidance from QLQ equipment notes; power and area follow the final machine list for your capacity.
| Component / Parameter | Working Value / Role | What Changes Mean (annotation) |
|---|---|---|
| Press tonnage | Size from the stamping load | Stainless needs more force than brass for the same part |
| Die material | Tungsten, Cr12MoV, SKD11 | Soft dies fail fast on stainless |
| Process order | Stamp, deburr, polish, clean, passivate, assemble | Each step protects the next |
| Salt spray | 48-96 hours or more target | QC proof for corrosion claims |
| Assembly balance | Match to stamping output | Avoids pile-up at the end |
| Tooling separation | Stainless-only media and brushes | Prevents iron contamination |
| Layout rule | One-way flow | Prevents cross contamination |
Reference Data
Specifications and references cited in this guide. Confirm final parameters with your line supplier.
Equipment list for a stainless slider line
| Press and dies | Stamping press + progressive die | Core forming |
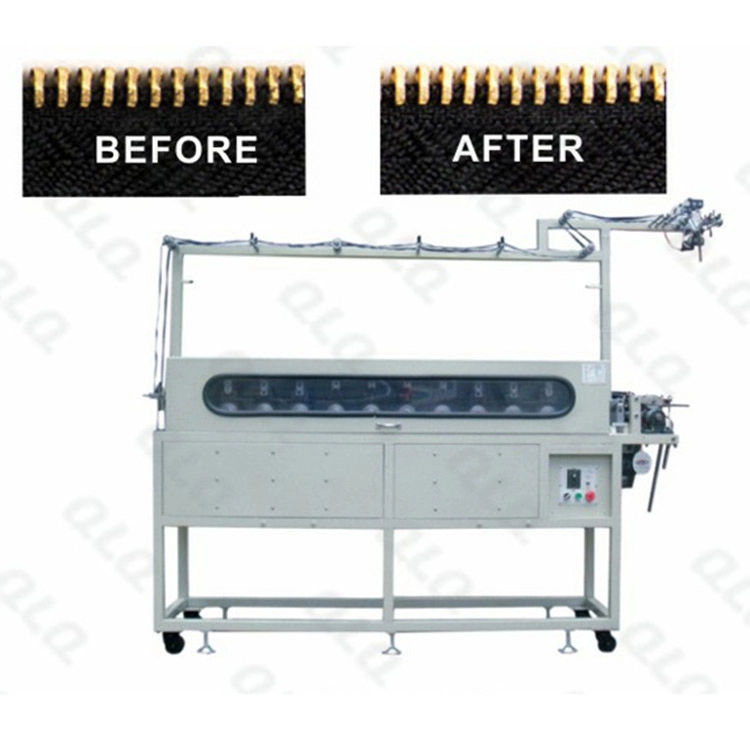
| Deburring/polishing | Tumbler, magnetic or wheels | Surface and edge control |
| Cleaning | Ultrasonic or washing line | Before passivation |
| Passivation bath | Chemical treatment station | Corrosion control |
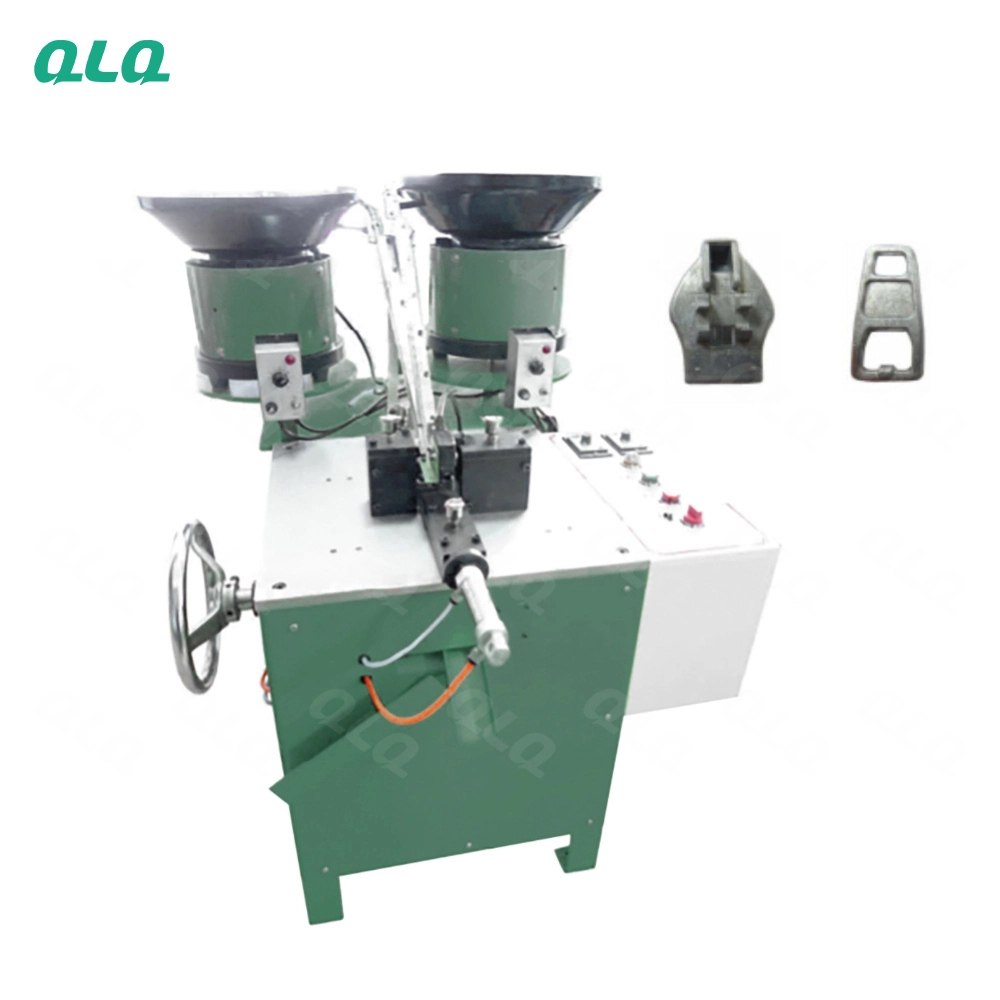
| Assembly machines | YG body/puller/spring assembly | Downstream |
| QC equipment | Salt spray, force, cycling, gauges | Release testing |
Layout zones
| Stamping zone | Presses and die storage | One-way into finishing |
| Finishing zone | Deburr, polish, clean, passivate | Stainless-only media |
| Assembly zone | Feeders and assembly machines | Balanced to stamping |
| QC zone | Testers and gauges | Near assembly output |
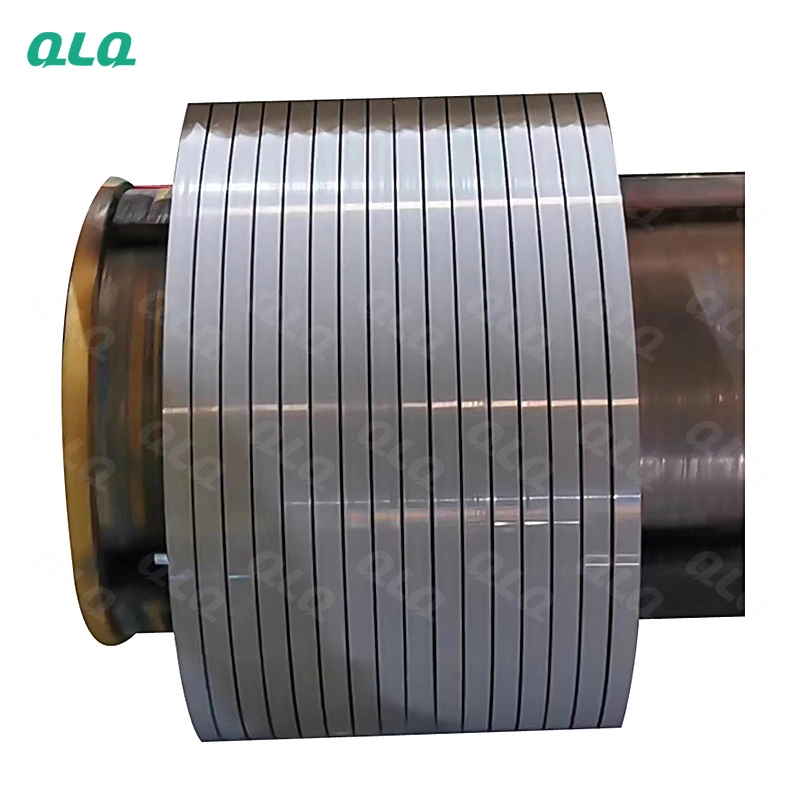
| Material store | Strip coils, spring wire, separate lots | Dry and labeled |
Phased investment path
| Phase 1 | One press + die + deburr + manual assembly | Validate the product and orders |
| Phase 2 | Add polishing, cleaning and passivation | Corrosion control and finish |
| Phase 3 | Add automatic YG assembly | Raise output and consistency |
| Phase 4 | Add salt spray and full QC, second shift | Prove and scale |
Implementation Cases
Case 1 - one-cell stainless line for marine sliders
Situation. A metal zipper maker in Turkey wanted to add stainless YG sliders for a marine customer but had no stainless stamping experience.
Approach. The line was built as one cell: a press with a tungsten-edged progressive die, deburring, cleaning and passivation, one automatic YG assembly machine and a salt spray chamber, in a stainless-only production area.
Outcome. The cell produced approved marine sliders with lot-based salt spray records, and the company added a second die and press after orders stabilized.
Case 2 - iron contamination fixed by separating the line
Situation. A factory in Vietnam made both zinc and stainless sliders in one area and found rust spots on stainless parts.
Approach. The stainless line was moved to a separate zone with its own polishing media, brushes and passivation bath, and operators followed a stainless-only tooling rule.
Outcome. Iron contamination stopped and the stainless line passed the 72-hour salt spray requirement for the marine order.
Frequently Asked Questions
What equipment is needed for a stainless slider line?
A stamping press with progressive dies, deburring and polishing equipment, cleaning and passivation stations, assembly machines, and QC equipment such as salt spray, force and cycling testers.
Do I need a separate stainless production area?
Yes, if you also make other metals. Iron contamination from shared media and tooling causes rust on stainless parts. Keep stainless tooling, media and processes separate.
Which press do I need for stainless sliders?
Stainless needs more tonnage than brass for the same part. Size the press from the stamping load and confirm by trial; choose tungsten or Cr12MoV-edged dies for die life.
Should cleaning and passivation be part of the line?
Yes, from the start. Late rust on stainless parts is usually caused by contamination that cleaning and passivation would remove before packing.
How do I balance assembly with stamping?
Stamping is fast; assembly often bottlenecks. Match assembly machine capacity to stamping output and keep buffers between the steps.
What QC equipment does a stainless line need?
A salt spray chamber for corrosion, force and cycling testers for lock function, and gauges for dimensions. For marine orders, salt spray per lot is essential.
Can I start small and expand?
Yes. Start with one complete cell - one press, one die, deburring, cleaning, manual assembly - validate the product, then add polishing, automation and QC as orders grow.
Can QLQ supply the whole stainless slider line?
Yes. QLQ supplies presses, dies, polishing, cleaning, passivation guidance, YG assembly machines and testing equipment, with layout, installation, training and spare parts as one package.
What Would You Like to Solve?
Tell us your slider sizes, lock types and marine or outdoor target, and we can help you build the stainless slider line - press and die plan, finishing and passivation, assembly and QC - starting with one matched cell.
Published by QLQ - a complete high-quality zipper manufacturing equipment, moulds and materials solution supplier, and the only supplier in China covering the full process chain from raw material through electroplating and painting as one integrated system. Values cited are project references; confirm with your line supplier before specification.